How to Stage a House to Sell: Step-by-Step Guide
Follow this detailed room-by-room staging guide to prepare your home for a faster, more profitable sale.
Learning how to stage a house to sell is one of the most valuable skills for any homeowner preparing to list their property. A well-staged home sells faster, attracts more offers, and commands higher prices than comparable unstaged listings.
This step-by-step guide walks you through the entire staging process from initial planning to final touches. Whether you handle the staging yourself or hire a professional, understanding each step helps you achieve the best possible presentation for your property. For broader context on staging strategy, explore our complete home staging guide.
1 Create Your Staging Plan and Timeline
Every successful staging project begins with a plan. Before moving a single piece of furniture, assess your home objectively and create a prioritized list of improvements. This planning phase prevents wasted effort and ensures you focus on changes that deliver the greatest impact.
Walk Through Like a Buyer
Start at the curb and walk through your home as if visiting for the first time. Enter through the front door, not the garage entrance you use daily. Notice the first impression each room creates. Take photos with your phone to review afterward because photos often reveal clutter and issues you overlook in person.
Set Your Budget
Determine how much you can invest in staging. DIY staging using these techniques costs $200 to $1,000 depending on paint, accessories, and cleaning supplies needed. Professional staging ranges from $1,500 to $6,000 or more. Your real estate agent can help you decide what level of investment makes sense for your market and price point. Read our home staging cost guide for detailed budgeting.
Establish Your Timeline
Allow two to three weeks for DIY staging before the listing photographer arrives. Create a day-by-day schedule covering decluttering, cleaning, repairs, painting, and styling. If hiring professionals, book the staging company three to four weeks before your target listing date. Many staging companies are booked several weeks in advance during peak selling season.
Pro Tip
Ask a friend or neighbor to walk through your home with fresh eyes. They will notice things you have become blind to after years of living there.
2 Declutter and Depersonalize Your Home
Decluttering is the most important and most challenging step in staging. It requires removing items you see and use every day. The goal is creating open, spacious rooms where buyers focus on the home itself rather than your belongings.
The Room-by-Room Approach
Tackle one room at a time to avoid feeling overwhelmed. Start with the easiest room to build momentum. For each item in the room, decide whether it stays, gets stored, gets donated, or gets discarded. Be honest about what the room needs versus what you have accumulated.
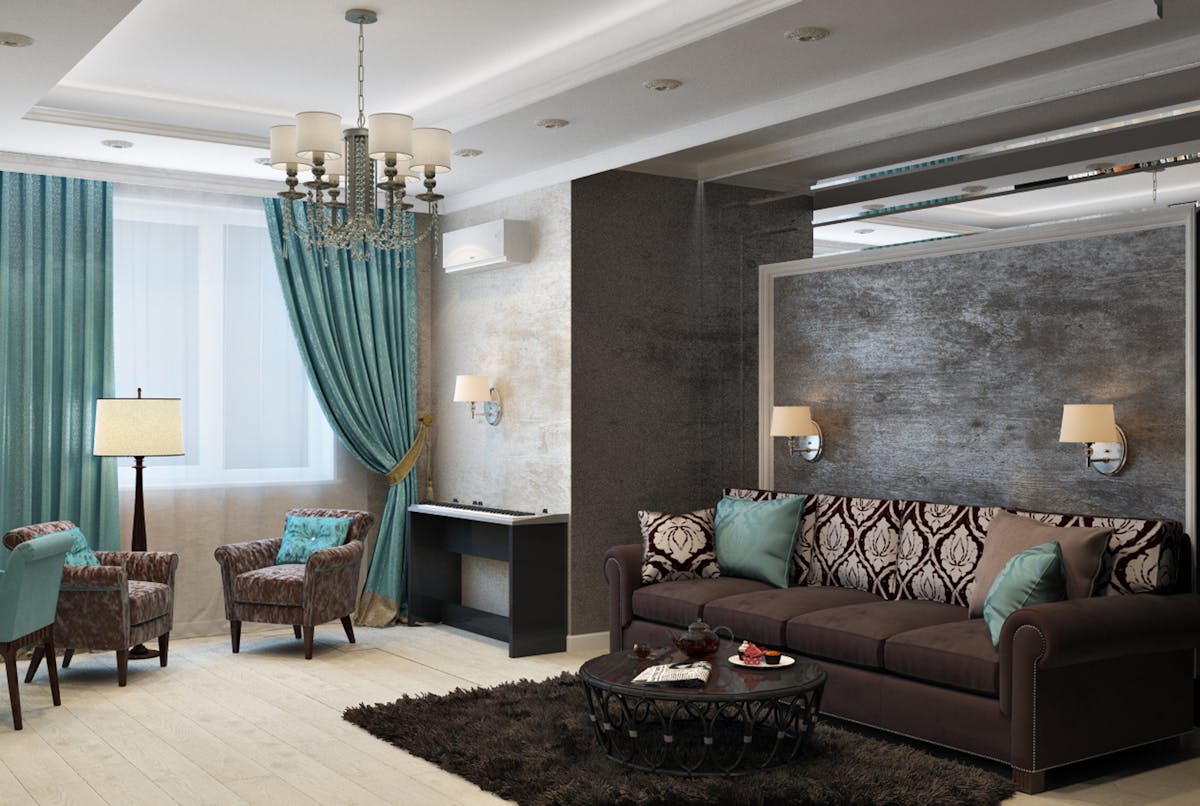
Living Room Decluttering
Remove excess furniture until the room feels open and easy to navigate. Keep the sofa, one or two accent chairs, a coffee table, and a side table. Remove bookshelves filled with personal items. Take down family photos and replace with neutral artwork. Clear the mantel of everything except one to three tasteful decorative objects.
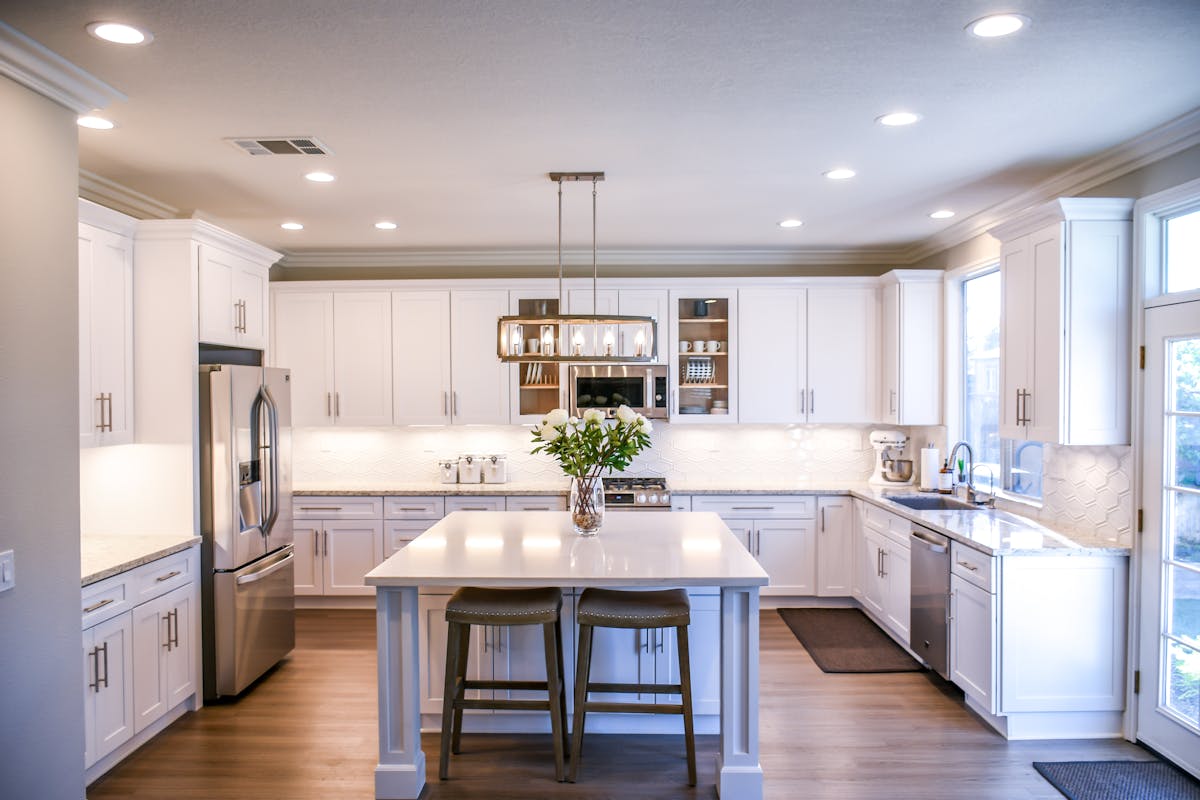
Kitchen Decluttering
Clear every countertop completely. Store small appliances, knife blocks, utensil holders, dish soap, and sponges out of sight. Remove magnets, photos, and papers from the refrigerator door. Organize inside cabinets and pantry so they appear spacious when buyers inevitably look inside.
Bedroom Decluttering
Remove all furniture except the bed, nightstands, and one dresser. Clear nightstand surfaces to just a lamp and one small item. Empty the top of the dresser. Remove half the contents of the closet and organize what remains by type and color. Closets should feel spacious, not packed.
Bathroom Decluttering
Remove every personal product from counters, shower shelves, and tub edges. Store toiletries in a portable caddy you can place under the sink between showings. Remove bathmats, used towels, and reading materials. The bathroom should feel spa-like with minimal items visible.
Storage and Rental Solutions
Rent a storage unit or portable storage container for items you remove from the home. A 10x10 storage unit costs $75 to $200 per month and can hold the contents of a one-to-two-bedroom apartment. This investment pays for itself through faster sales and higher offers. Think of it as pre-packing for your upcoming move.
3 Deep Clean and Make Repairs
After decluttering reveals the true state of each room, deep cleaning and minor repairs come next. This step eliminates the visual and sensory distractions that make buyers feel uneasy about a property's condition.
Professional-Level Cleaning
Clean from top to bottom in every room. Start with ceiling fans, light fixtures, and crown molding. Work down to walls, windows, and surfaces. Finish with floors, baseboards, and corners. Use a systematic approach so nothing gets missed. Pay extra attention to kitchens and bathrooms where cleanliness standards are highest.
Windows and Natural Light
Clean all windows inside and out. Dirty windows reduce natural light by up to 40%. Remove heavy curtains that block light and replace with sheer panels or leave windows bare. Clean or replace window screens. Natural light makes rooms feel larger and more inviting, which directly impacts buyer perception.
Flooring Refresh
Steam clean all carpets to remove stains and odors. Polish hardwood floors with appropriate cleaning products. Clean tile grout in kitchens and bathrooms. If carpet is heavily stained or outdated, consider replacing it in main living areas. New carpet installation in a living room costs $500 to $1,500 and eliminates one of the most common buyer objections.
Minor Repairs That Matter
Fix every small issue before staging begins. Patch nail holes and touch up paint. Tighten loose door handles and cabinet knobs. Fix running toilets and dripping faucets. Replace cracked switch plates and outlet covers. Repair caulk around tubs, sinks, and windows. Each unfixed item tells buyers the home was not properly maintained and invites lowball offers.
4 Paint With Staging Colors
Fresh paint delivers the highest return on investment of any staging improvement. A gallon of quality paint costs $30 to $60 and covers 350 to 400 square feet. The visual impact is immediate and dramatic, especially over bold or dated wall colors.
Choosing the Right Colors
Select warm neutral tones that photograph well and appeal broadly. Avoid pure white which can feel clinical and cold. Instead, choose warm whites with slight undertones of cream or gray. Popular staging colors include Benjamin Moore's "White Dove," Sherwin-Williams' "Agreeable Gray," and Behr's "Wheat Bread." These tones create warmth without limiting buyer imagination.
What to Paint
Paint every room that has bold colors, scuff marks, or dated tones. Focus first on the main living areas that buyers see immediately. Paint the front door for curb appeal impact. Touch up trim, baseboards, and door frames where wear is visible. Consider painting dark-stained wood trim white for a brighter, more contemporary look.
Paint Quality Matters
Use high-quality paint with built-in primer for the best coverage and durability. Choose eggshell or satin finish for walls as these reflect light softly and resist scuffs. Use semi-gloss for trim, doors, and bathrooms where moisture resistance matters. Two coats ensure even coverage and a professional-looking finish.
5 Arrange Furniture for Maximum Appeal
How you arrange furniture determines how spacious and functional each room feels to buyers. Strategic placement creates flow, defines purpose, and makes even smaller rooms feel generous. This step has zero cost but dramatic impact.
Create Clear Pathways
Buyers should be able to walk through every room without navigating around furniture. Create a clear main pathway at least 36 inches wide. In open floor plans, use furniture groupings to define separate areas for living, dining, and conversation. The flow from one room to the next should feel intuitive and unobstructed.
Float Furniture From Walls
Pull furniture two to four inches away from walls. This small gap creates depth and makes rooms feel designed rather than arranged out of necessity. In larger rooms, float the sofa toward the center and create a conversation grouping. This technique works particularly well in great rooms and open-concept living spaces.
Define Room Purpose
Every room should have a clear, obvious purpose. Stage your home so that spare room used for storage becomes a home office with a simple desk and chair. Decorate the awkward alcove as a reading nook with a chair, lamp, and small side table. When a potential buyer understands what each interior space is for, they can mentally map their own furnishing and lifestyle into the home.
Scale Furniture to Room Size
Oversized furniture makes rooms feel cramped. Undersized furniture makes rooms feel empty and undefined. Each piece should be proportional to the room. If your sectional dominates the living room, consider replacing it with a standard sofa and two accent chairs during the selling period. The perception of space is more valuable than proving a large sofa can fit.
Space Perception: A room with 30% less furniture feels 50% more spacious to buyers. When in doubt, remove the piece. Less furniture almost always makes a better impression than more.
6 Style Each Room With Finishing Touches
Finishing touches bring warmth and personality without the personalization that repels buyers. These details create the polished, magazine-quality presentation that makes listings stand out online and in person.
Living Room Styling
Add two to three coordinated throw pillows to the sofa. Drape a textured blanket over one arm. Place a coffee table book and small decorative object on the coffee table. Add a fresh green plant in a stylish pot. Hang neutral artwork at eye level above the sofa or fireplace. Each addition should feel intentional and contribute to a cohesive look.
Kitchen Styling
Place a bowl of fresh lemons or green apples on the counter for a pop of natural color. Add a small herb plant near the window. Display one beautiful cookbook on a stand. Set a French press or stylish kettle on the stove. These touches create a lived-in warmth without clutter. Explore more ideas in our home staging tips article.
Bedroom Styling
Layer the bed with quality white or neutral linens. Add four to six pillows in descending sizes. Fold a textured throw at the foot of the bed. Place a small tray on the dresser with a candle and decorative object. Add a plant or fresh flowers on the nightstand. The bedroom should feel like a boutique hotel room.
Bathroom Styling
Roll three white towels and place them on a tray or shelf. Add a small potted orchid or succulent on the counter. Set out a decorative soap dispenser with clear liquid soap. Place a small candle near the tub. Hang a fresh white shower curtain. These touches cost under $50 and transform the bathroom into a spa-like retreat.
Dining Room Styling
Set the table for four with simple white plates and cloth napkins. Add a low centerpiece of fresh flowers or a decorative bowl with seasonal items. Place a linen table runner for visual interest. Do not over-set the table. Simple and elegant outperforms elaborate and busy every time in staging.
7 Stage the Exterior for Maximum Curb Appeal
The exterior of your home creates the critical first impression that sets expectations for everything inside. Buyers who feel positive about curb appeal enter the home with an optimistic mindset. Those who are disappointed before they reach the front door carry that negativity through every room.
Landscaping Essentials
Mow the lawn to a uniform height and edge along all pathways and garden beds. Trim bushes and hedges to neat, defined shapes. Remove dead plants and replace with seasonal flowers. Add two to three inches of fresh mulch to all planting beds. Mulch costs $3 to $5 per bag and instantly makes landscaping look maintained and intentional.
Front Entrance Impact
The front door and entrance area deserve special attention. Paint the front door a welcoming color that complements your home's exterior. Add a new welcome mat, updated house numbers, and a seasonal wreath or potted plants flanking the door. Clean the porch light fixture and ensure the bulb is bright. Replace a worn or dated mailbox.
Driveway and Walkways
Power wash the driveway, walkway, and any concrete or stone surfaces. Pull weeds from cracks and joints. If the driveway has significant cracks or stains, consider having it sealed. Repair loose or uneven walkway pavers. These surfaces are the first things buyers walk on and contribute to the overall impression of care and maintenance.
Outdoor Living Areas
Stage your patio, deck, or porch as an extension of the home's living space. Clean outdoor furniture or add a simple bistro set. Place coordinated cushions on seating. Add an outdoor rug and potted plants to define the space. Remove grills, pool equipment, and storage items from view. The outdoor area should look like a place buyers want to spend time.
Your Two-Week Staging Timeline
Week One: Foundation Work
Days 1 to 2: Declutter and pack non-essential items. Arrange storage unit delivery.
Days 3 to 4: Make all minor repairs. Patch, caulk, and fix everything on your list.
Days 5 to 6: Paint priority rooms. Start with the living room and work outward.
Day 7: Deep clean the entire house or have professional cleaners come through.
Week Two: Styling and Polish
Days 8 to 9: Arrange furniture in all rooms. Remove excess pieces.
Days 10 to 11: Add accessories, artwork, and styling touches room by room.
Day 12: Stage exterior and curb appeal elements.
Days 13 to 14: Final walk through, touch-ups, and listing photography.
When to Hire a Professional Stager
Professional staging makes sense in several specific situations. If your home is vacant, professional staging with rented furniture is almost essential. Empty homes sell slower and for less money. Stagers transform empty rooms into warm, inviting spaces that photograph beautifully and resonate with buyers during showings.
High-value properties benefit significantly from professional staging. When your home's sale price exceeds $500,000, the potential price increase from staging easily justifies the investment. Professional stagers understand luxury buyer expectations and have access to furniture collections that match those standards.
If you lack confidence in your design abilities or simply do not have time for a DIY approach, a professional stager handles everything. Most offer consultation-only services where they create a plan you execute yourself. Full-service staging handles every aspect from decluttering guidance to furniture rental and installation.
Your real estate agent can recommend staging professionals they have worked with successfully. Many agents have preferred stagers who understand the local market and buyer preferences. Some agents even cover part of the staging cost because they know it leads to faster sales and higher commissions. For guidance on finding the right professional, visit questions to ask a real estate agent.
Maintaining Your Staging During the Selling Period
Staging is not a one-time event. You need to maintain the presentation throughout the entire selling period. Create a daily routine that keeps your home showing-ready with minimal effort.
Establish a 15-minute daily routine that covers making beds, wiping kitchen and bathroom surfaces, running a quick vacuum over main floors, and putting away any items that migrated out of their staged positions. Keep a basket handy where you can quickly toss personal items before showings.
For last-minute showings, create a "showing kit" with everything you need to restore staging quickly. Include surface cleaner, paper towels, a lint roller for upholstered furniture, and a bag for personal items in each bathroom. The ability to prepare for a showing in 10 minutes means you never miss an opportunity.
Replace fresh flowers before they wilt. Empty trash cans before each showing. Open all blinds and turn on all lights. Set the thermostat to a comfortable temperature. These maintenance tasks keep your staging fresh and ensure every buyer experiences the home at its best.
Frequently Asked Questions
How do you stage a house to sell?
Stage a house by decluttering 30% to 50% of belongings, deep cleaning every room, depersonalizing, making minor repairs, painting neutral colors, arranging furniture for flow, and adding finishing touches. Start with the living room, kitchen, and primary bedroom.
How long does it take to stage a house?
DIY staging takes one to two weeks. Professional staging of an occupied home takes one to three days. Vacant home staging with rented furniture requires one full day for setup. Start at least two weeks before listing photos.
What should I remove when staging?
Remove family photos, personal collections, excess furniture, pet supplies, bathroom toiletries from counters, and anything worn or dated. Clear 30% to 50% of closet contents and all kitchen countertop items.
Do I need to stage every room?
Focus staging investments on the living room, kitchen, and primary bedroom. Ensure all rooms are clean, decluttered, and painted. Stage bathrooms with fresh towels. Add dining room and outdoor staging if budget allows.
Should staging happen before listing photos?
Always stage before listing photos. Over 97% of buyers start online, and staged listing photos receive significantly more clicks and showing requests. Complete all staging before the photographer arrives.
Ready to Stage and List Your Home?
Work with a real estate agent who understands staging and can help you achieve the best possible sale. Our matching service is free.
Find My AgentStart Staging Your House Today
Setting the stage to sell your home does not require professional design training or a large budget. It requires intention, effort, and a willingness to see your home through the eyes of a buyer's perspective. Follow the seven steps in this guide, and you will create a marketing-ready presentation with thoughtful décor that stands out from competing listings and attracts motivated buyers.
The investment in staging consistently delivers returns that maximize your sale proceeds and far exceed the cost. Whether you spend a weekend decluttering and cleaning or invest in full professional staging to get top dollar, the data supports one conclusion: staged homes sell faster and for more money.
Continue your staging education with our comprehensive home staging guide, practical home staging tips, and detailed home staging cost breakdown. Each resource builds on the information here to help you achieve the best possible sale.